The methods of creating an incident are as follows:
From Search Interface
From Alert Rules
From Widgets in Dashboards and Search Templates
From the UEBA Anomalies Panel
You can create incidents for a particular search query from the Search Interface. Follow the instructions below to create incidents in this way.
Go to Search from the navigation bar.
Execute a query to create its incident.

Add Search To dropdown menu
Go to the Add Search To drop-down and select Incident to open the Create Search Incident Panel.
Create Search Incident - Step 1
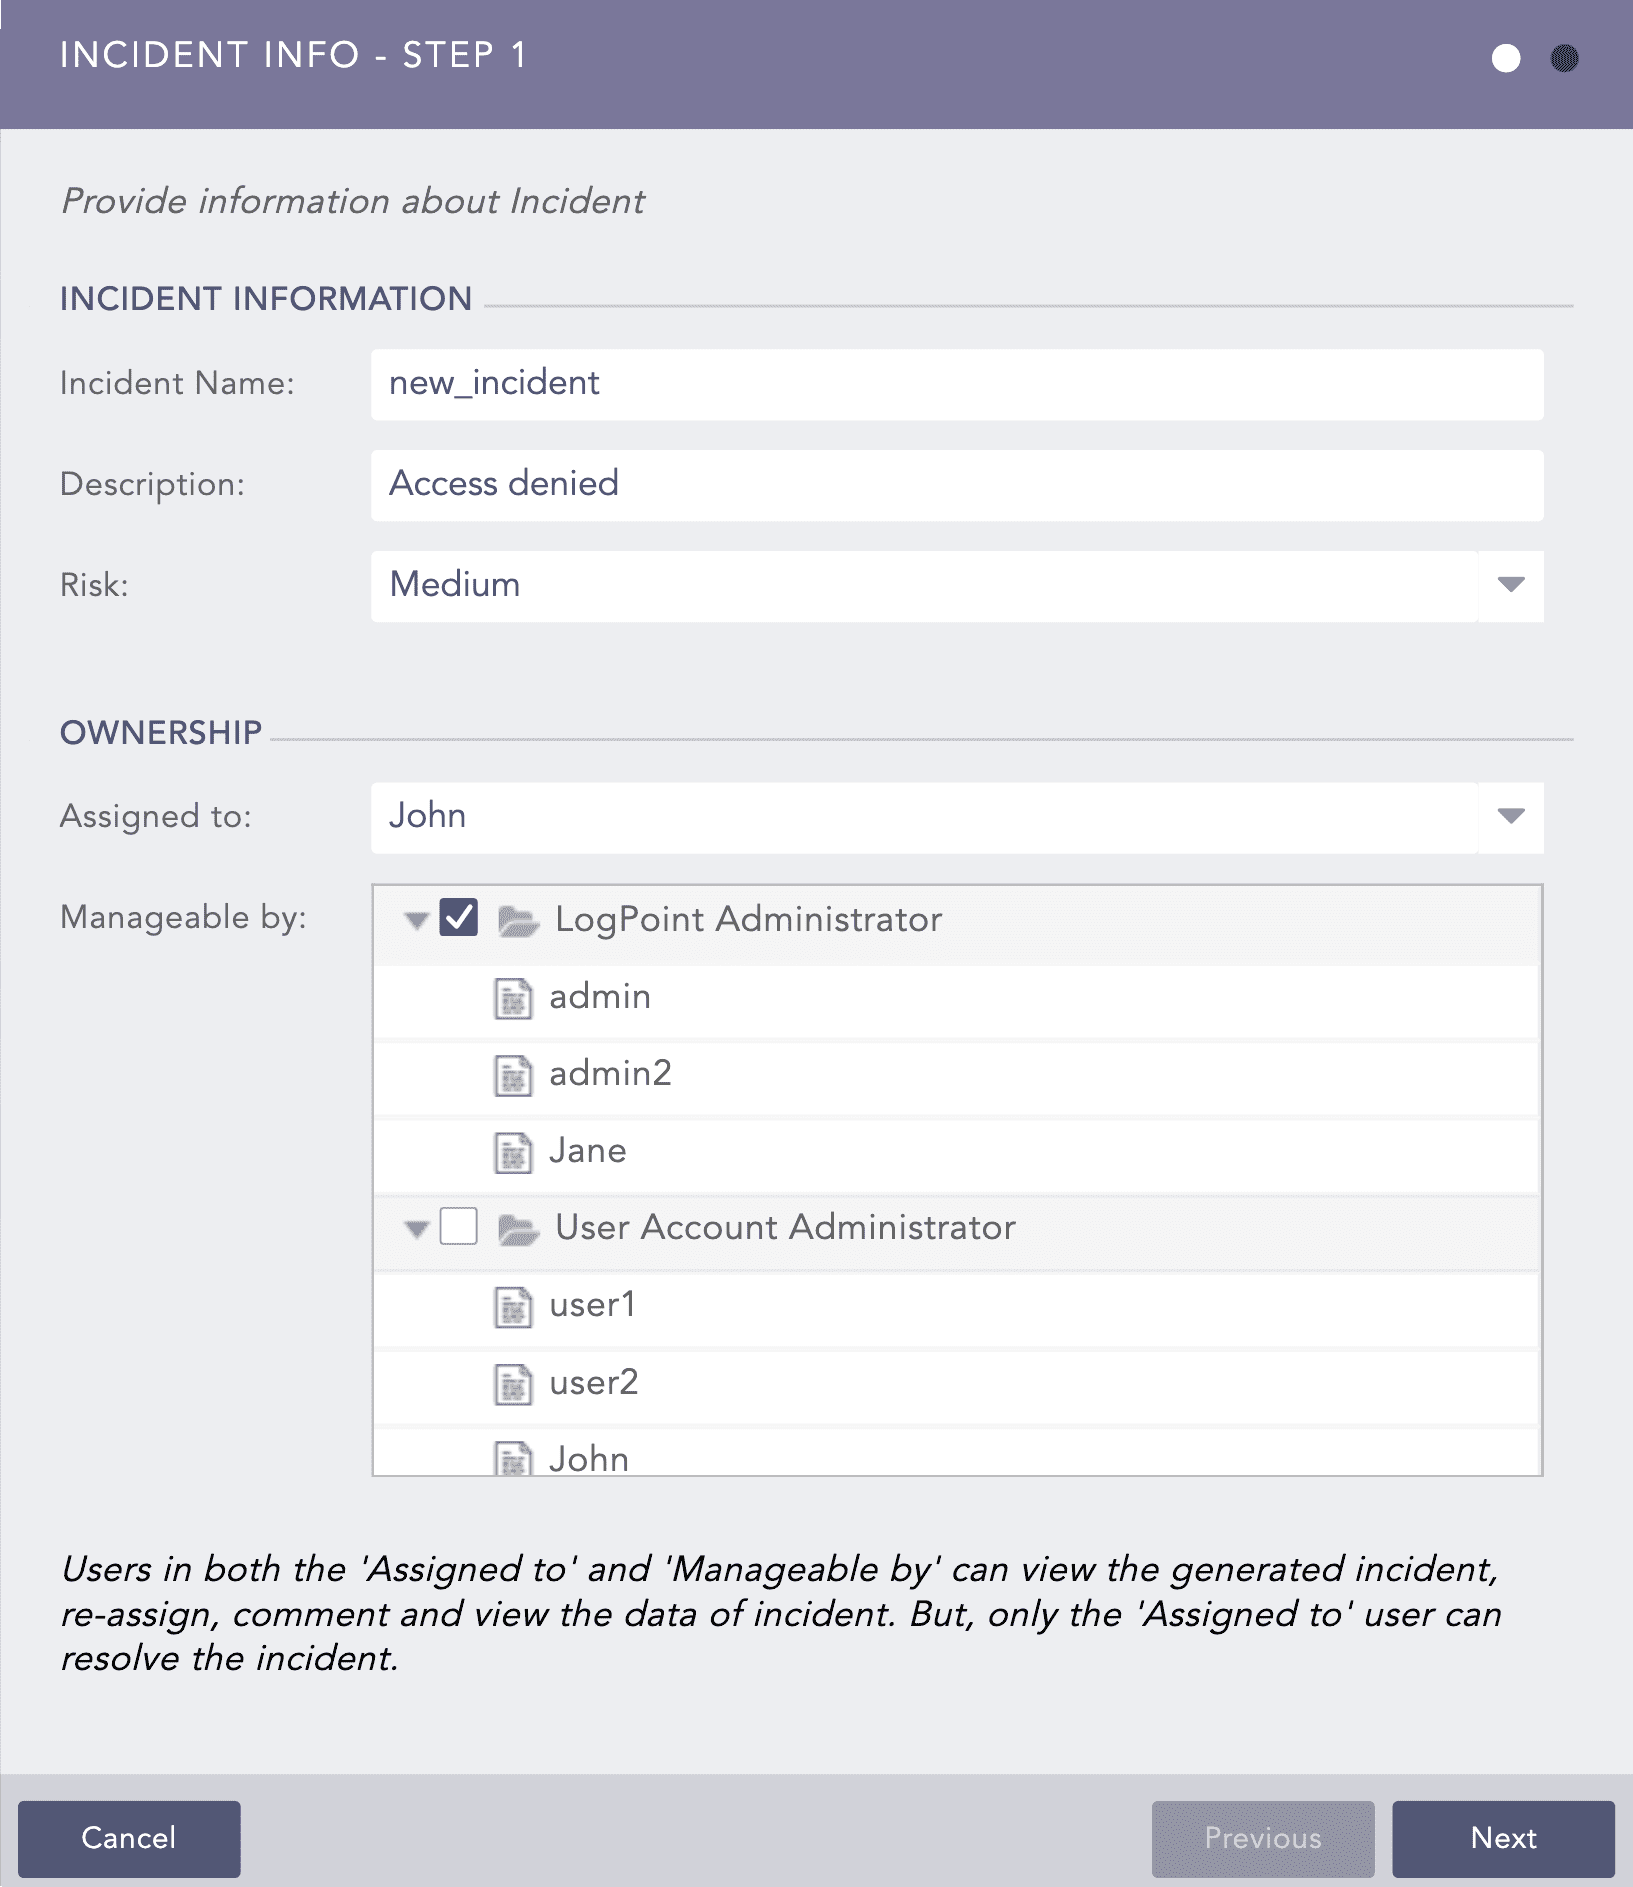
Enter the Incident Name, and the Description.
Select a Risk level for the incident.
Select a user from the Assigned to drop-down to assign the ownership of the incident. The Assigned to drop-down displays all the distinct Users mapped to the Incident User Groups (via User Groups).
Choose a group(s) from the Manageable by tree node structure. The tree node structure displays all the Incident User Groups with their corresponding users present in the system.
Users selected in both the Assigned to and Manageable by sections can view the generated incident, reassign it, and comment on the data. However, only the Assigned to user can resolve it.
Note
While creating the incident, you can only see the Assigned to and the Manageable by sections if you belong to any of the Incident User Groups. Otherwise, the Create Search Incident dialog box looks like:
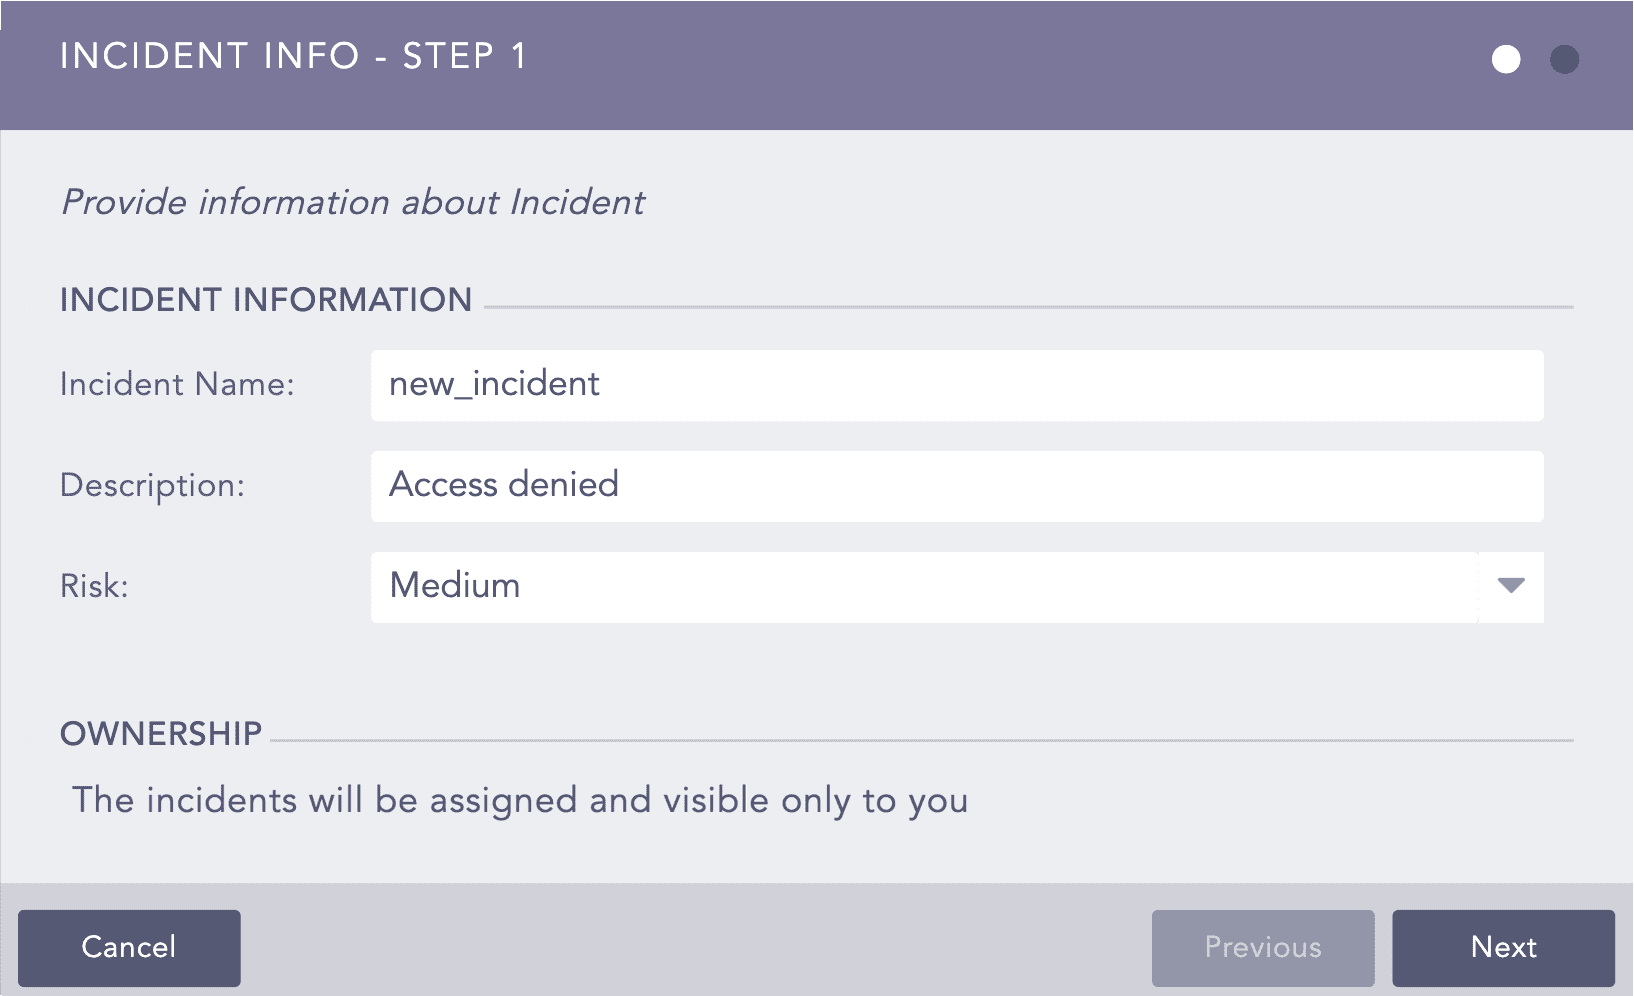
Create Search Incident panel
In this case, you are assigned to the generated incident, and you are responsible for managing it.
If required, you can assign an incident to yourself and select none of the Incident User Groups from the Manageable by tree node structure.
Click Next.
Note
The Assigned to and the Manageable by sections appear the same to the LDAP Users.
The Alert Rule/Incident creators can see the incidents generated even if they are not present in the Assigned to drop-down and the Manageable by tree node structure.
When the system is updated to v5.5.0, the Ownership of the Incidents differ in the following ways:
The incidents generated before the update are visible only to the old Users from the old User Groups. The newly created users of v5.5.0 can only view the incident after you reassign it to them.
The incidents generated in Logpoint v5.5.0 from the old Alert Rules created before the Logpoint update are visible only to the creator of that Alert Rule unless they change the ownership information.
There was no ownership feature for the Incidents generated in the earlier versions of Logpoint (Logpoint v5.4.2). Logpoint v5.5.0 handles the ownership of those incidents in the following ways:
The ownership of the old incidents generated from the Alert Rule in Logpoint v5.4.2 is assigned to the owner of the Alert Rule.
The ownership of the old incidents added from the Search result in Logpoint v5.4.2 is assigned to the creator of that Incident.
If the Assigned User or the Alert Rule of an incident is deleted from the system, the incident is automatically assigned to one of the Logpoint Administrator users.
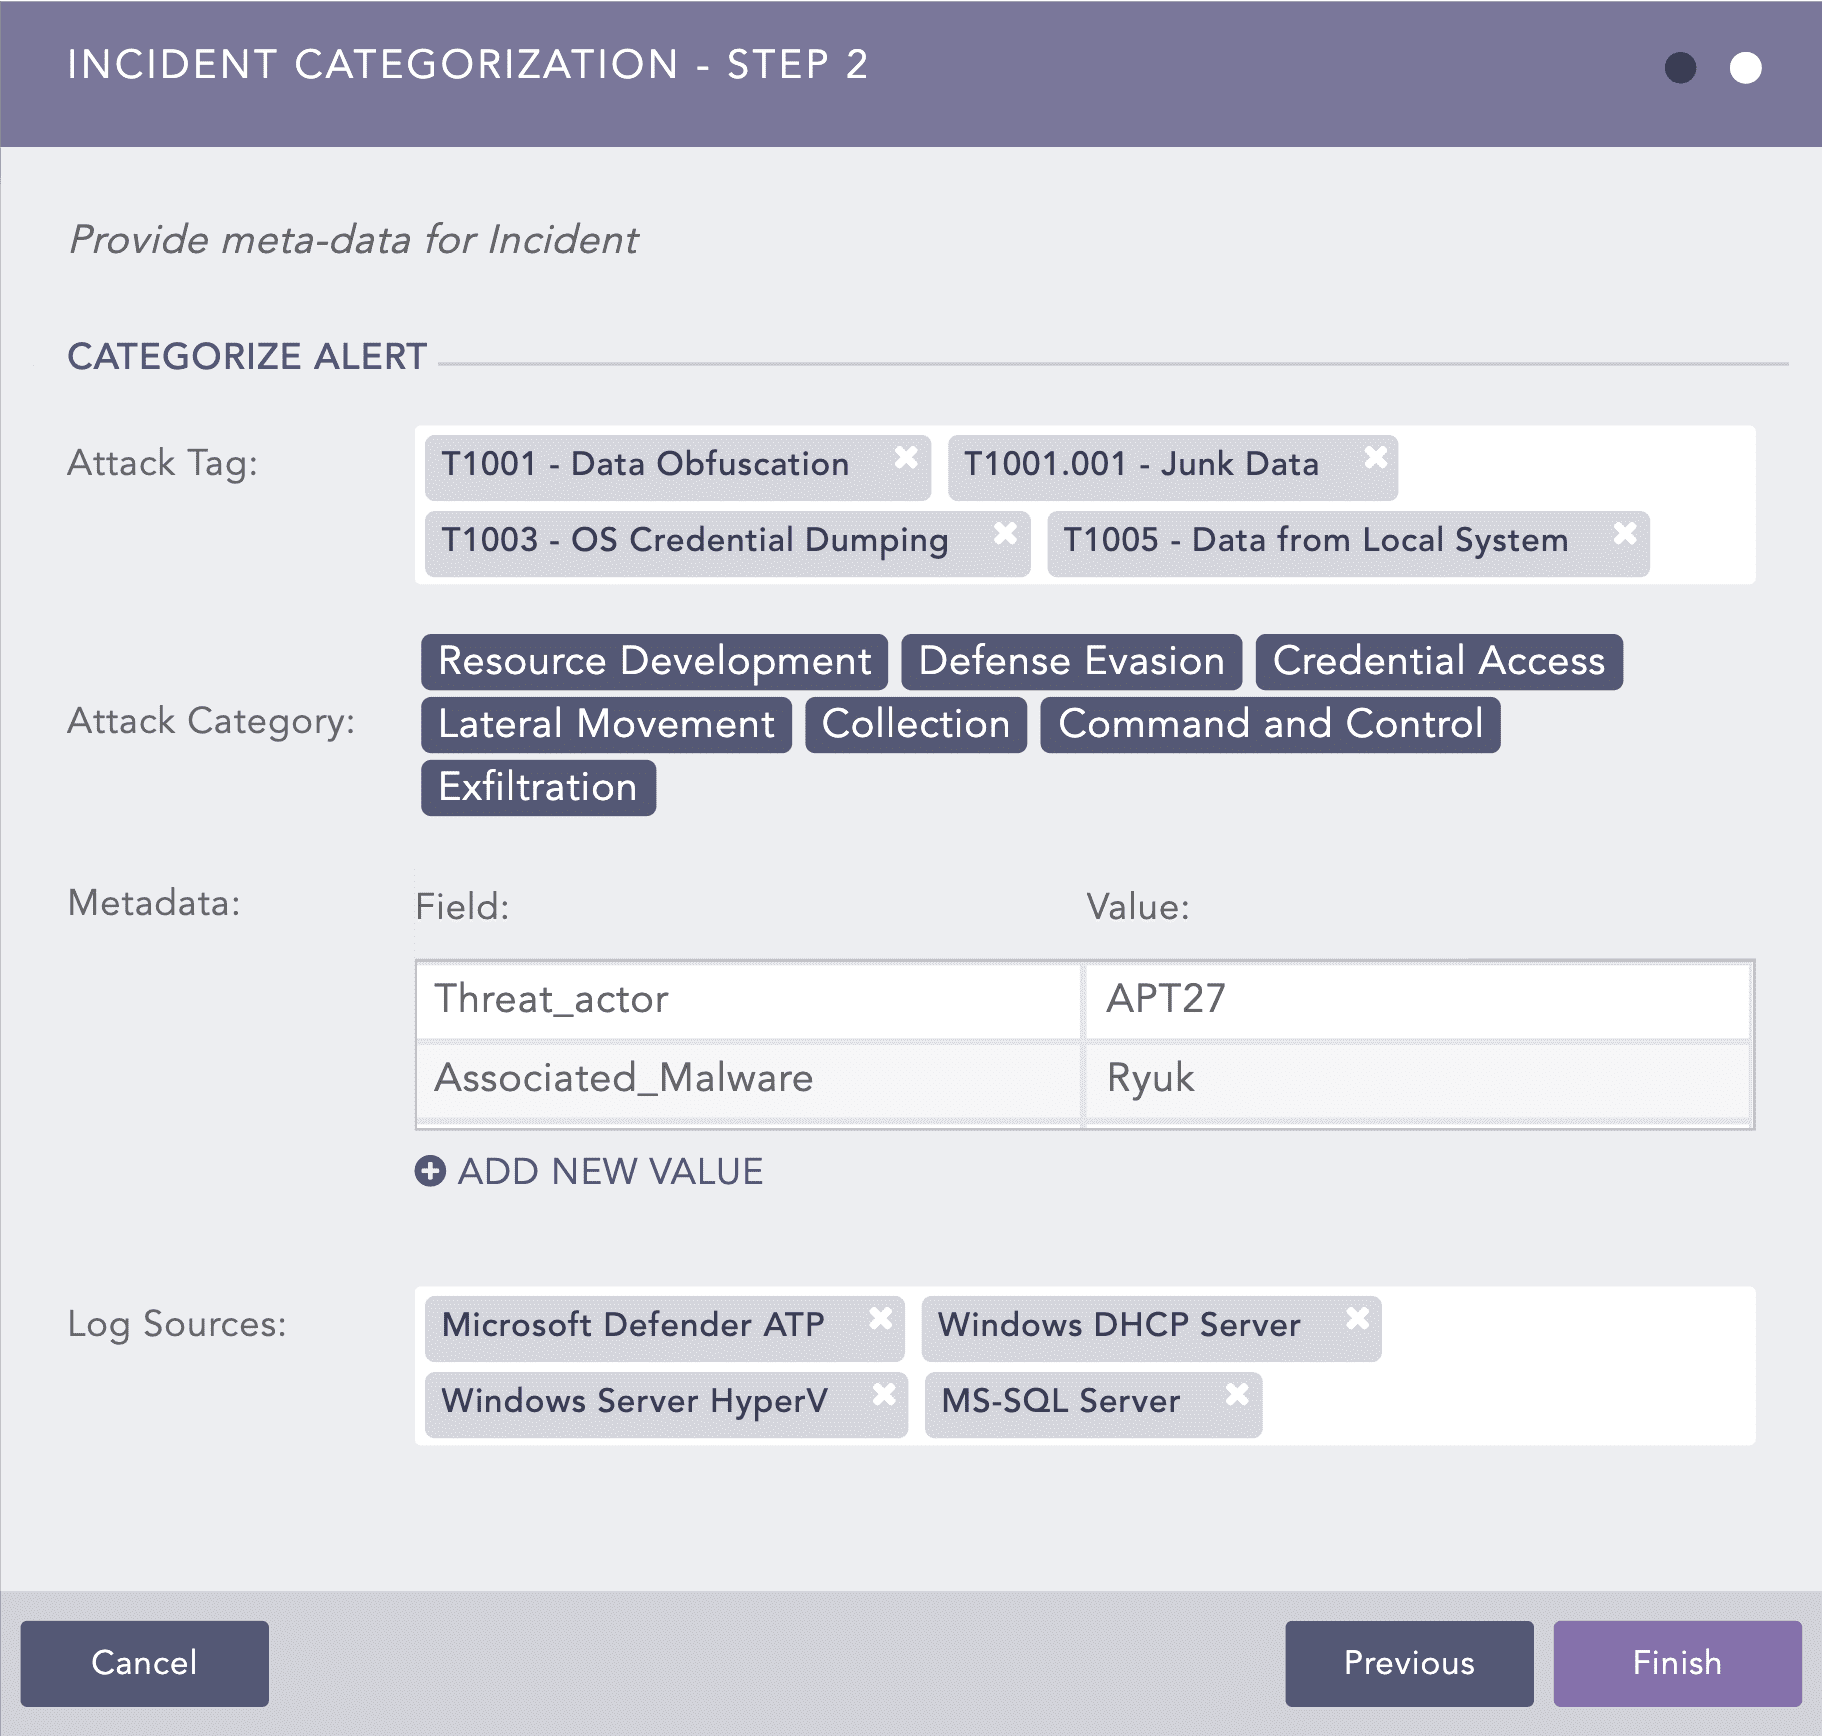
Create Search Incident - Step 2
Select the Attack Tag from the drop-down. You can select multiple tags to categorize the incidents. Attack Category is selected based on the associated Attack Tags selected.
Provide custom Metadata as Field and Value to categorize the incidents. You can add new fields and values by clicking the ADD NEW VALUE button.
Warning
You cannot provide Logpoint reserved Jinja placeholders as Metadata Field in the Field column. Refer to Logpoint Reserved Jinja Placeholders to view the list of publicly available Logpoint reserved Jinja placeholders.
The Metadata Field should contain letters or a combination of letters, numbers, or underscores (_), and must start with a letter.
You cannot repeat the Metadata Field.
Value associated with the Metadata Field cannot be empty and vice-versa.
Select Log Sources from the drop-down or provide new log sources associated with the alert rule. New log sources are also updated in the drop-down after submission.
Click Finish. As soon as this form is successfully submitted, a new incident is generated and populated on the Incident page. You can access the Incident page under Investigation >> Incidents from the navigation bar.
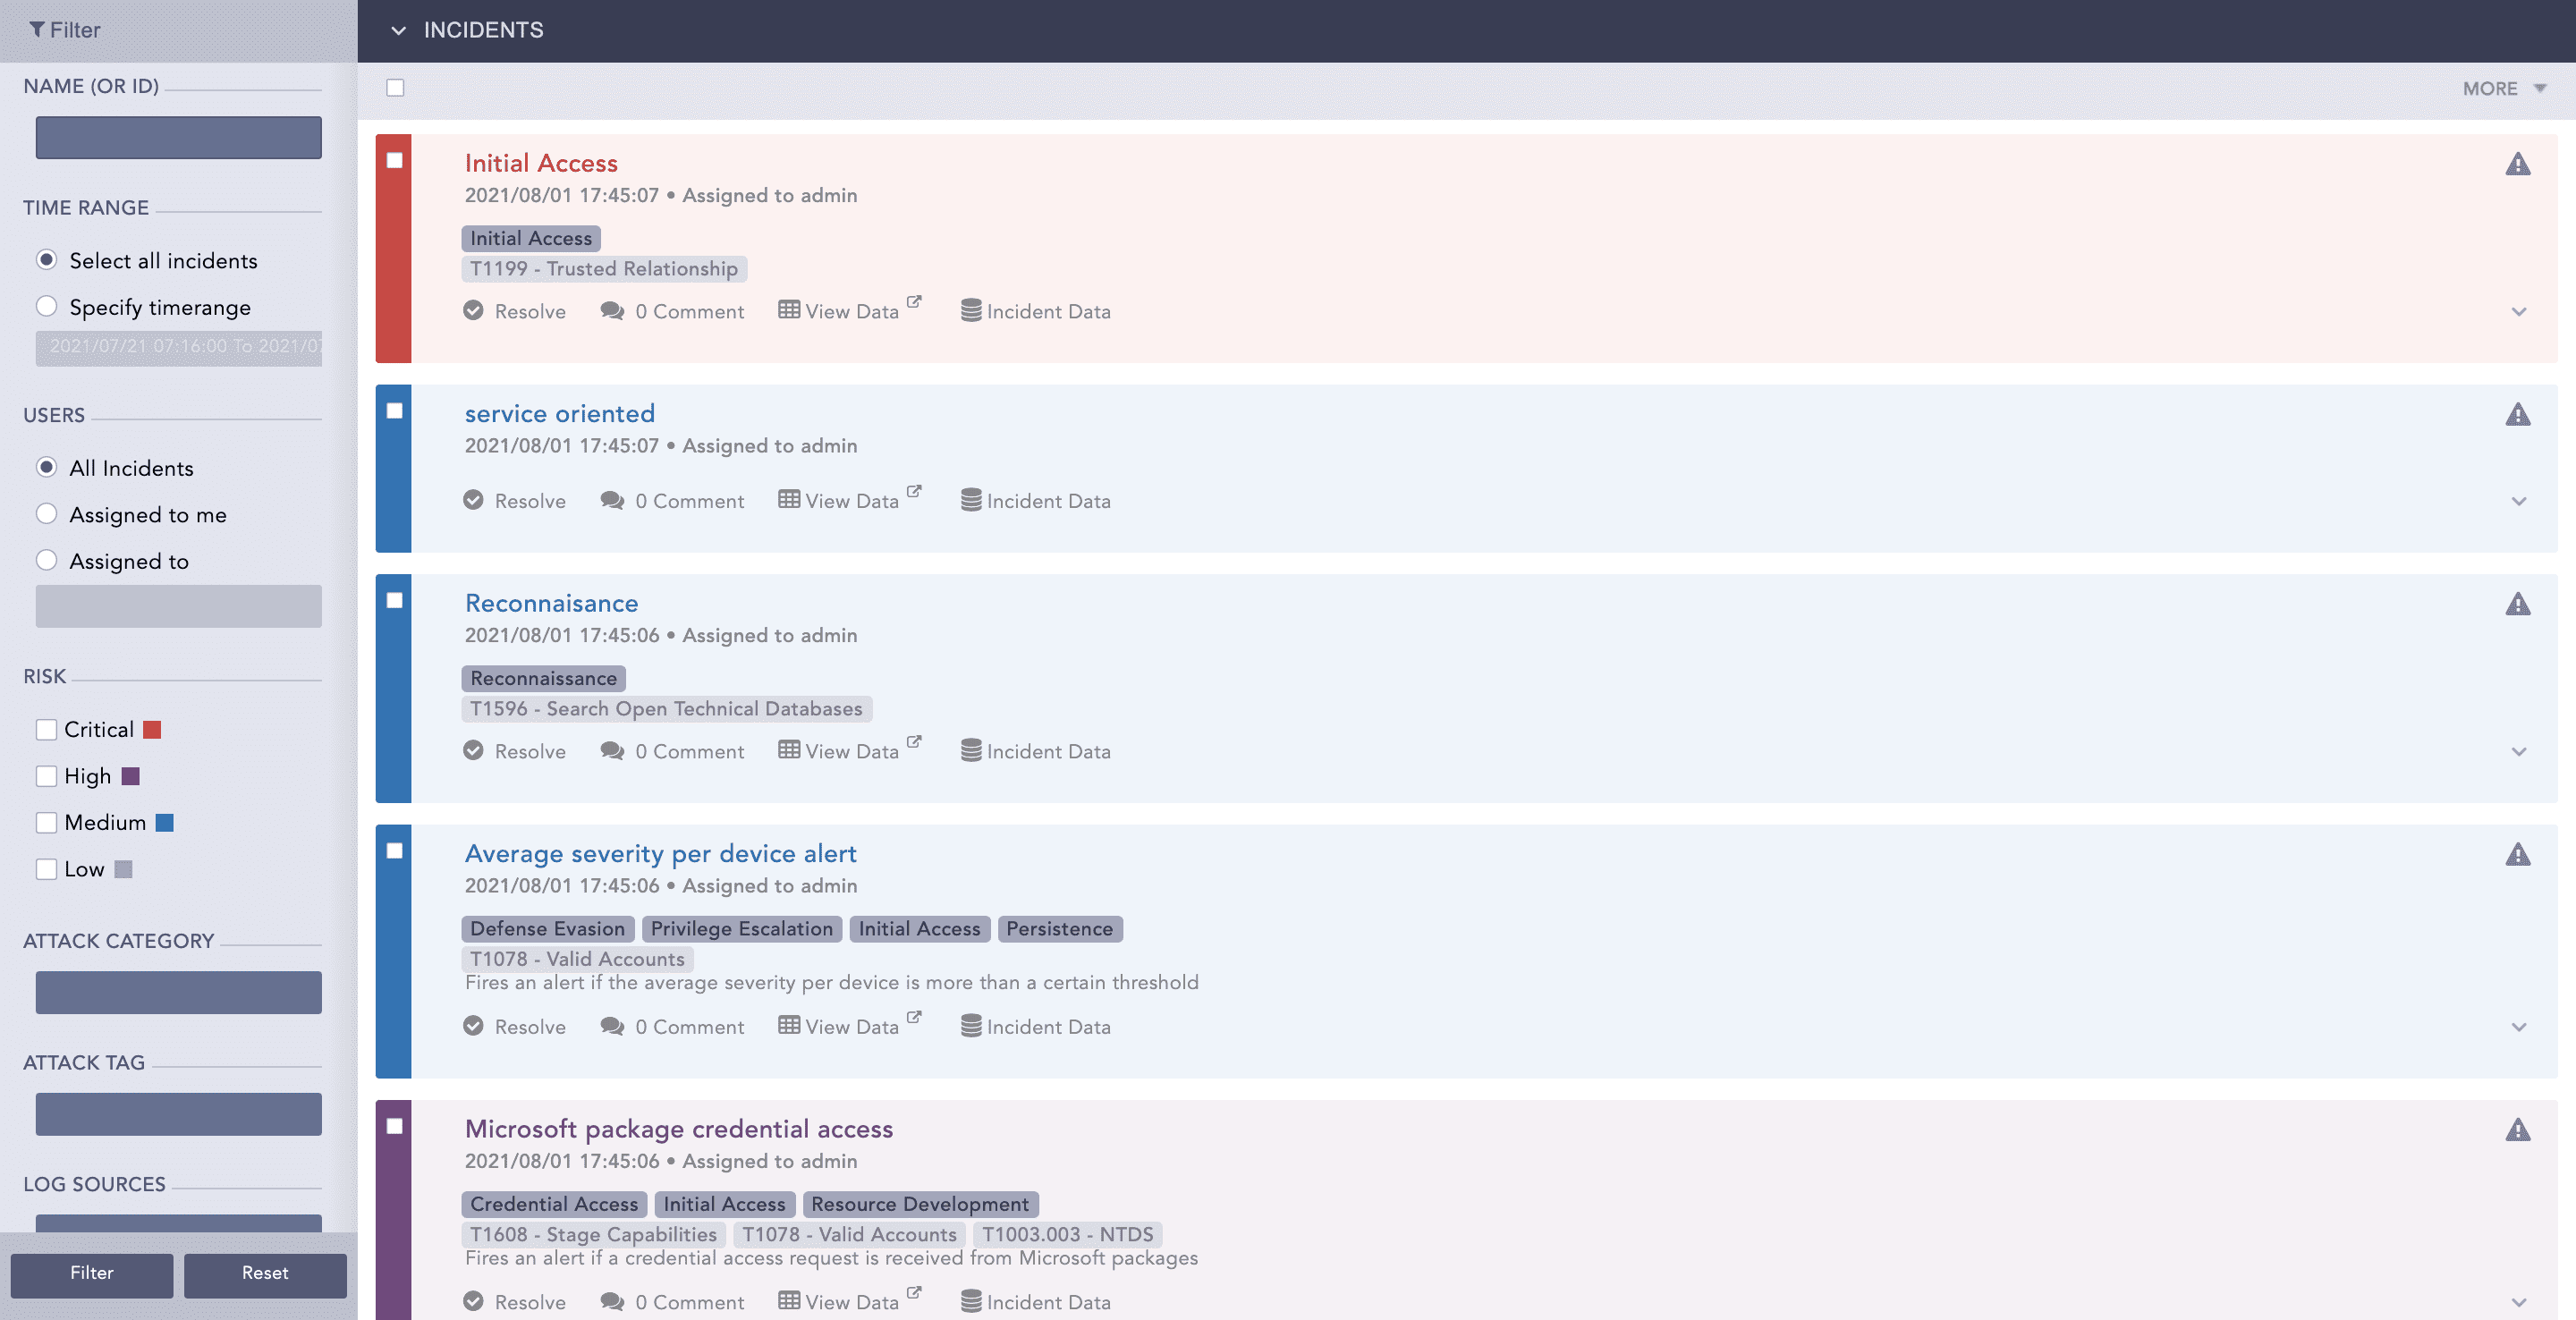
Incidents page
The purpose of an alert rule is to monitor data continuously. Once Logpoint finds the search result matching an alert, it fires the corresponding incidents. The process of creating an incident from alert rules is given below:
Go to Settings >> Knowledge Base from the navigation bar and click Alert Rules.
Create an alert rule on the basis of your requirements.
For details, refer to the Creating an Alert Rule section.
After creating the alert, click the bell shaped Setup Notification icon in the Actions column.
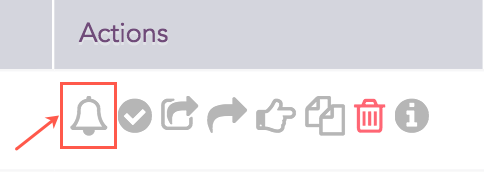
Alert Rule Actions
Choose the type of notification you would like to configure and fill in their respective required parameters. Refer to the Setting Up Alert Notifications section for the detailed information.
Click Save.
After creating the alert rule, the incidents of the corresponding alerts fired are automatically generated and populated in the Incident menu.
Go to the dashboard or search template containing the required widget.
Click the drop-down icon at the top-right corner of the widget.
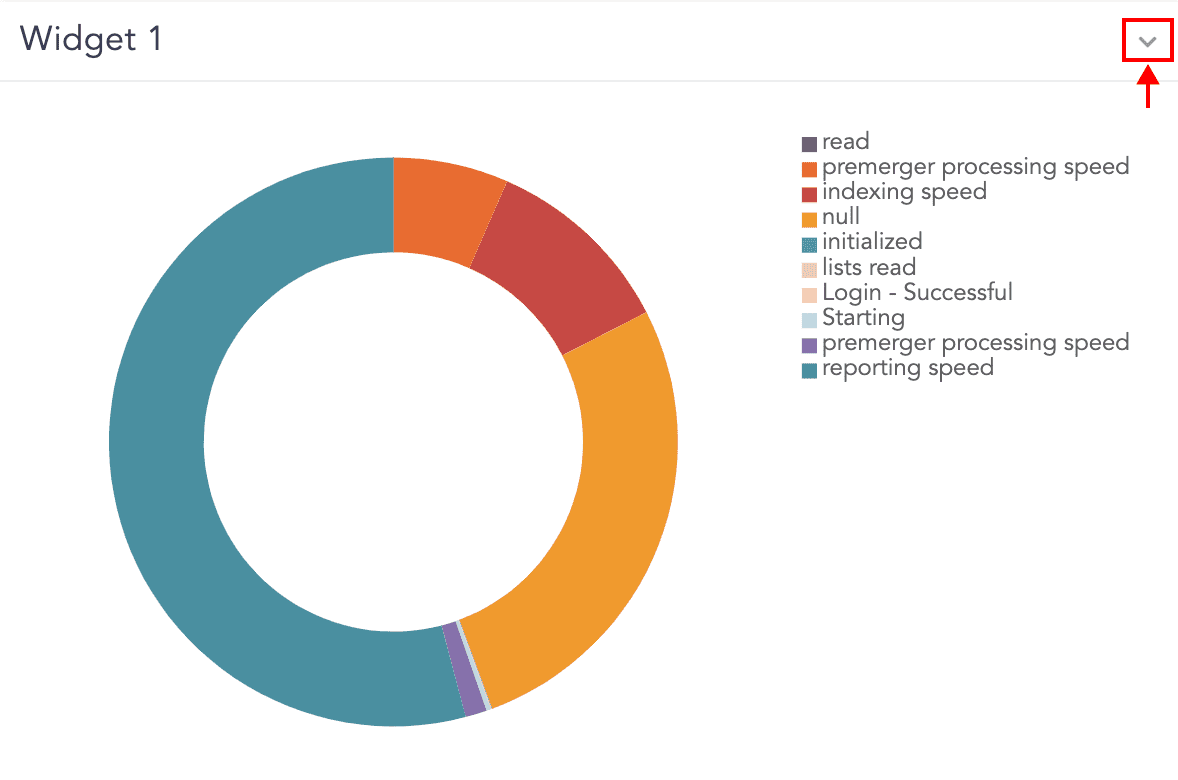
Edit Icon in the Widget
Click Incident.

Creating Incidents from Dashboard Widgets
Enter the relevant data and Submit the form.
Note
Refer to the Creating Incident from Search Interface section for details on filling out the form.